Sunday, 14 September 2014

Dianna Agron 'Just Another Girl' Tutorial


Hi everyone,

You might not know this about me, but I'm a huge fan of The Killers, and have been for years. A few days ago I heard their most recent single, Just Another Girl, (I know, I know, it came out in like November, I'm very late to the party) and immediately fell in love with it. The video is equally cool. It features the actress Dianna Agron (another person I've loved since her Glee days) playing Brandon Flowers and recreating some of The Killers most famous videos, like so...


 via nope, shut it down

...all while sporting a very cool hair and makeup look (and clothes, I really want one of those jackets from the 'Human' video) that I thought I would have a go at recreating today.
For this look, you will need:
  • Base makeup (foundation, concealer, powder, whatever you use)
  • A matte/not obviously shimmery bronzer
  • Grey and black matte eyeshadow
  • A black eyeliner
  • Mascara
  • A pinky/nude lipstick
  • An angled eye brush
  • A blending brush
  • A comb
  • Hair bobbins
  • A crapload of bobby pins
  • Hairspray
The Makeup
  • Apply whatever base makeup you normally use
  • Next, apply some bronzer just underneath the apples of your cheeks, and blend it out


  • For the main event, the eye makeup, start by applying the grey eyeshadow all over the lid


  • Using an angled brush and black eyeshadow, draw the outline of the cat eye, starting in the centre of your eyelid. You can also use your eyeliner for this if you find the brush too difficult.

  • Using the black eyeshadow, fill in your outline. Also apply the black eyeshadow to the outer half of your eyelid, and blend it in with the grey. What you don't see here is the ten minutes it took me to try and get both eyes to sort-of match, so don't worry if it takes a few attempts. You can actually cheat by using a makeup wipe to even things out.


  • Using your angled brush again, apply some black eyeshadow underneath your eye. Then, use your blending brush and even some grey shadow to blend it out a bit, so that you don't have such a harsh black line.

  • Use your black eyeliner to line your upper lash line and water line (and also tight line if you're feeling brave. I wasn't. ) Also, pro-tip, try not to get eyeshadow in your eye like I did. As you can probably tell, it really hurt.

  • Apply your mascara, and that's it!

  • And here is the finished eye look...

  • Finish by applying your lipstick


The Hair
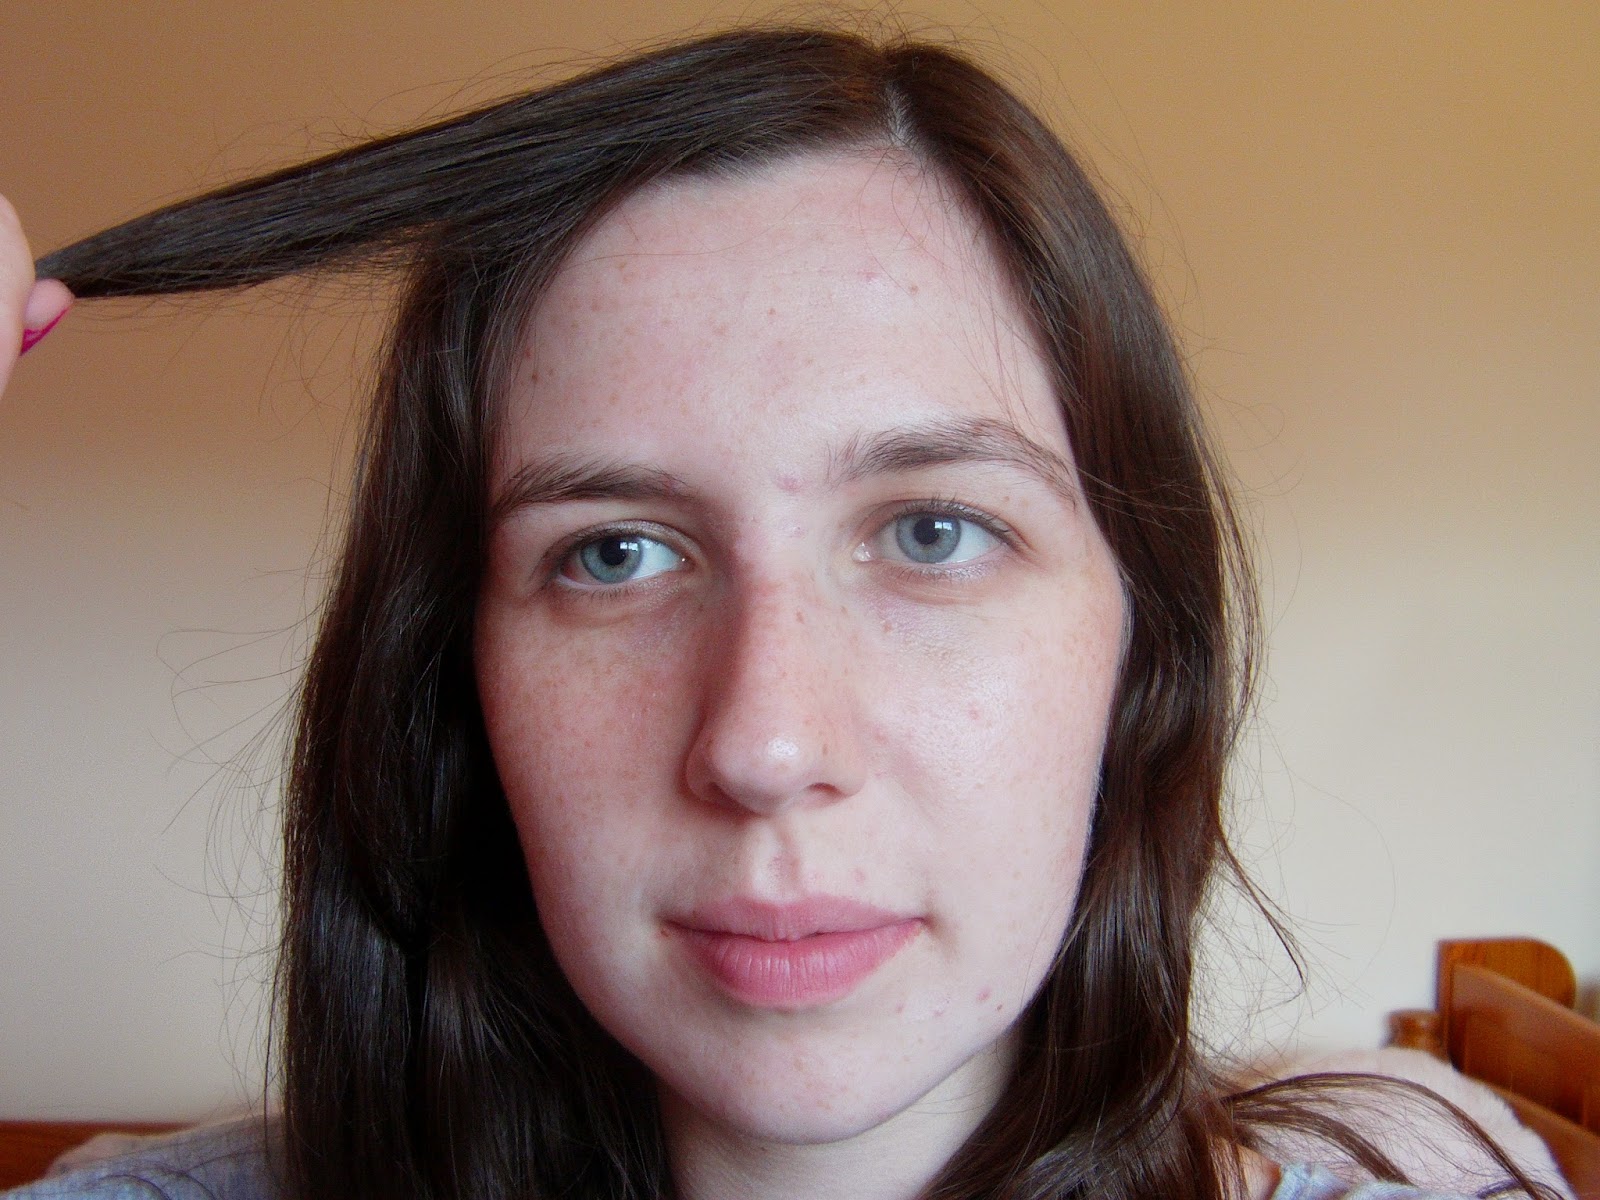
  • Using the top of your ears as a guide, divide your hair into two sections. For the sake of convenience, tie the bottom section into a low ponytail.

  • Pull all the hair in the top section back...

  • Then divide the hair from the top of your head from the pieces at the side, so that you have three sections. Secure the top section with a clip for the moment.

  • Divide the side sections of your hair into two, once again using your ear as a guide. Leave the pieces in front of your ear out, and tie the pieces behind it into the ponytail of convenience.

  • Using a comb, pull the two side sections back against your head, as tightly as you can, and secure them with bobby pins. Leave the ends out for the moment.

  • It should look something like this...

  • And this...

  • Take the top section of your hair out of it's clip. If you have a lot of hair like me, you might want to get rid of some from the back into the ponytail of convenience, so that you have a manageable amount.
  • Using a comb, start back-combing your hair (pushing your hair down towards the roots), while intermittently spraying it with hairspray. (Don't be afraid to use a lot of hairspray. Just stay away from naked flames.)

  • Pull the hair back into a quiff, and secure it with bobby pins. You should probably add some more hairspray too.

  • Gather all the leftover end pieces from the side and top sections

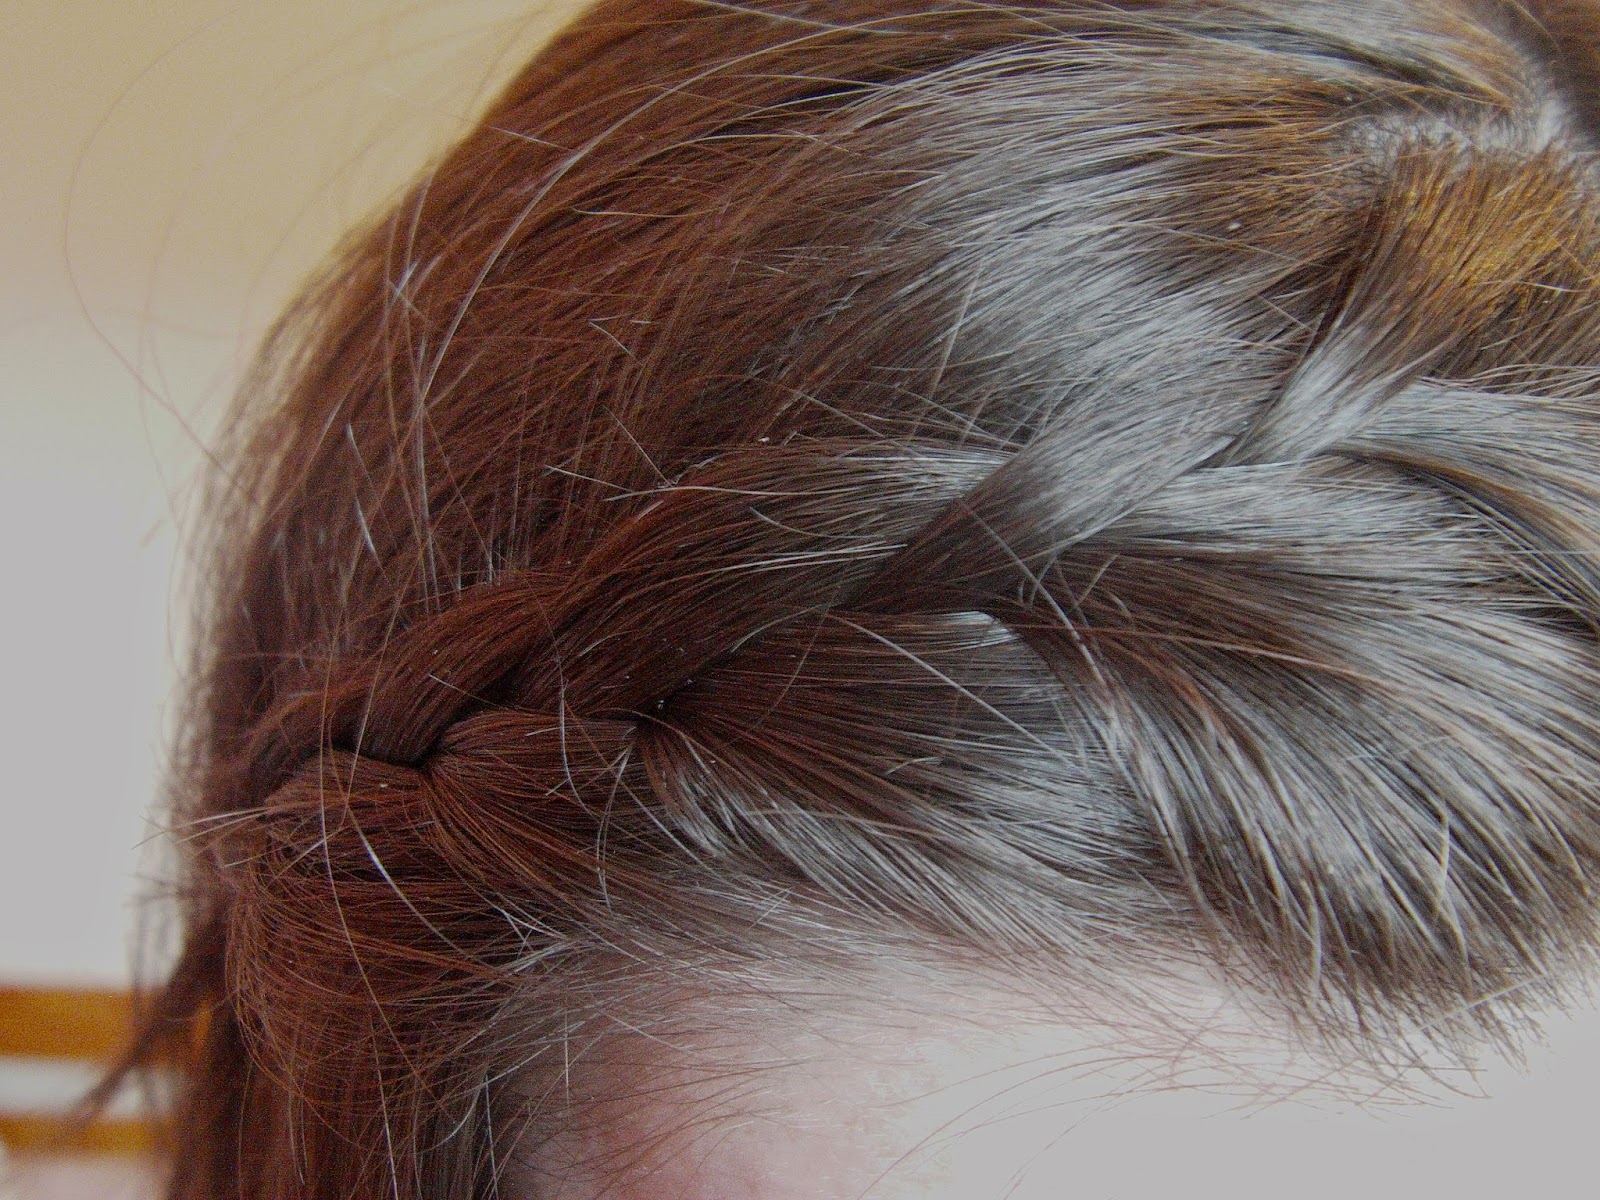
  • Divide it in three and start plaiting. I did a Dutch Plait, which means you pull the hair over instead of under when plaiting. It should look like this. Don't worry if it looks messy, or you accidentally leave sections out. 

  • Continue plaiting until you reach the start of your other ponytail, then combine the two  into one. It should look something like this...


  • And from the front, this...

  • And this is the finished look!


All together now; "All of my friends say..."


Wednesday, 10 September 2014

The Lip Lineup| September


Hi everyone,
And welcome to the second edition of The Lip Lineup, where I show you the lip products I plan on using every month. This month I've rooted out some lipsticks that I've seriously neglected over the past while, as well as one new addition.


Collection Lasting Colour Lipstick in 05 'Passion Fruit', Revlon Lip Butter in 'Wild Watermelon', MAC Lipstick in 'Crosswires', By the Face Lipstick in '15', Kate Moss for Rimmel Lipstick in '08'


Passion Fruit, Wild Watermelon, Crosswires, 15, and 08

Sunday, 7 September 2014

How To: The Headband Braid

Hi everyone,
I recently decided to grow out my side fringe, and as anyone whose done it before will know, the growing out process can be a pain in the ass. This simple braid/plait has been a bit of a lifesaver over the past few weeks, and is a nice, more interesting way to keep the short bits of my former fringe out of the way than just pinning them back. I thought I'd show you how I do it.
Also note that you don't actually need a fringe/side fringe to do this style, you can just use the front bit of your hair.


  • Section off your fringe, or a bit of hair about two inches wide

  • For the sake of convenience, you might want to tie the rest of your hair back, like so...
  • From that bit of hair, section off a small amount at the top
  • Divide it into three parts...
  • Start plaiting, and with every twist an extra piece of hair from the front of your section

  • Continue plaiting until you run out of hair. It doesn't have to be perfectly neat (mine certainly isn't), if you have a fringe it's likely that little bits will escape

  • Depending on what your preference is, you can either pin back your plait with a bobby pin, or just tie it and leave it loose (this looks really good with long hair)

And that's it! Here are some photos of the finished product


Friday, 5 September 2014

Makeup of the Day| 5/9/14


Products used:


  • Rimmel Wake Me Up Foundation in 100 Ivory
  • Collection Lasting Perfection Concealer in 01 Fair
  • Rimmel Stay Matte Translucent Powder
  • Primark PS Love... Bronzer
  • MUA Glamour Days Palette (Shade 9, 10, 11)
  • Revlon Bold Lacquer Mascara
  • By the Face Lipstick in Shade 15

Thursday, 4 September 2014

August Favourites

Hi everyone,
And so another month has passed. I don't know about you, but I feel like August flew by. I don't have a lot of favourites this month; just a few makeup and skincare bits, but I thought I'd show them to you anyway.

Garnier Fresh Radiance Boosting Scrub

I don't really talk about skincare on here very often; it's just not really my thing, but I like this scrub so much that I had to give it a mention. It's specifically aimed at people with dull and tired skin (me all over; the downside of being a nightowl is that you always look wrecked) and it does have a noticeable brightening affect on my skin. I like to use it twice a week.

Cien Gentle Cleansing Milk

This is another recent find of mine that comes from none other than Lidl. I use this to take off my makeup, although I'm not sure if that's it's intended purpose. It does a really good job of breaking down makeup, particularly eye makeup, which I've always had trouble getting off. And, because it's from Lidl, it's really cheap.

Revlon Bold Lacquer Mascara

My last post was actually a full review of this mascara, so I won't go on about it too much. I'll just say that it's a really good lengthening mascara, and one of my new all time favourites.

MUA Glamour Days Palette


You can probably tell how well loved this palette has been by the grubby packaging. I've mentioned my love for MUA eyeshadow palettes a few times, and this is one of my new favourites. I've hardly used anything else for the last few months. It has a perfect mix of gold and brown neutral shades and colours. I've particularly liked using the some of the bright shades as eyeliner during the summer. All the eyeshadows are highly pigmented and very longlasting. I highly recommend it.

Maybelline Colour Vivid Lipstick in 'Neon Red'


This was a lipstick that I hadn't worn for ages, and rooted out of my collection in an attempt to shop my stash a bit. I actually really like it. In colour it's quite similar to Rimmel's In Love With Ginger, though maybe not as orange. It's quite a wearable red; not as bright as some of the others out there. But it lasts well, is moisturising, and is just a generally nice colour for the summer.

And for my random favourite of the month/television recommendation of the month...

Shameless USA

Sucessful American remakes of British tv shows are few and far between, but Shameless is one of the few success stories. I've never actually seen the original version, so I have no idea how this one compares. All I know is that I really, really like it, and may or may not have marathoned all four seasons during the month of August. I think fans of Orange is the New Black would really enjoy it; the humour is similar, and it does a similarly great job of mixing the dark and serious with the absurd and hilarious. I could probably go on for paragraphs, maybe even pages about it, but I'll spare you. Just take my word for it; it's really great. You should watch it.